

Let us take baby steps towards programming the ESP8266 Module in hand.
The first step would be to download the Arduino or your IDE of choice. Download the Arduino IDE from this link:
The first step would be to set up the Arduino IDE for ESP8266. For doing this follow the below steps.
Go to File –> Preferences in the Arduino Environment and enter the below URL in the "Additional Boards Manager URLs:" Section --- indicated in yellow below

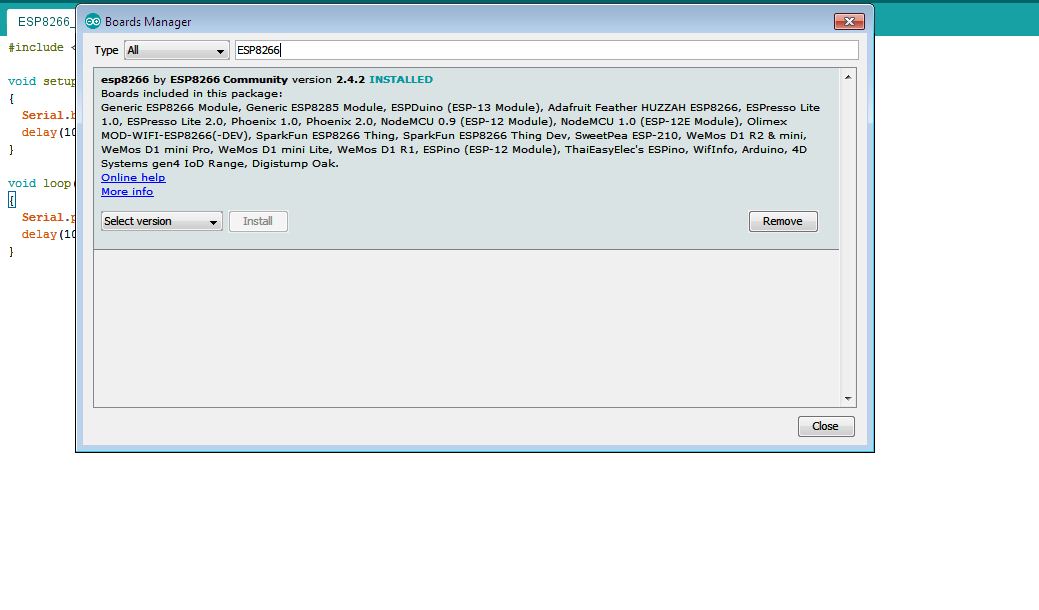
Go to Tools –> Board –> Boards Manager and search for ESP8266. Select the "esp8266 by esp8266 Community" and click on install if not already installed.

Your environment is set up now for ESP8266 programming. When you go to File -> Examples, you must see ESP8266 related examples which indicates that your setup is proper.

Now mount the ESP8266 module on the USB to TTL converter board and keep pressing the S1 switch while plugging in the USB cable. This brings the ESP8266 to programming mode. Press the Reset switch S2 for 1-2 seconds and release it. Now S1 can also be released and your ESP8266 module is ready to program.
Click on File -> New and you must see the following window.

Write the below small code snippet to put data onto the serial port.

Ensure that the below settings are done in the Arduino IDE.

Now click on the below button to program the board. You must also the log as in the bottom to the screen. that is an indicator of successful compilation and download to ESP8266.

Once this is done, click on Tools -> Serial Monitorto to open serial prompt window.

You must see the serial log as shown below if everything went well as described above.

 ]]>
]]>


0 Comments